Integrating external applications such as RStudio or a Python HTTP server with JupyterHub enhances the functionality and flexibility of your Jupyter environment. In this blog post, we'll explore how to use the jupyter-server-proxy extension to both manage and proxy to external applications. We'll cover two scenarios.
- Starting a new service instance directly from JupyterHub
- And connecting to an existing service.
Installing jupyter-server-proxy
First, let's install the jupyter-server-proxy extension. This tool allows JupyterHub to proxy HTTP and WebSocket requests to other services based on pre-defined configurations. You can install jupyter-server-proxy using pip:
pip install jupyter-server-proxy
Once installed, ensure it's enabled in your Jupyter environment:
jupyter serverextension enable --py jupyter_server_proxy --sys-prefix
Configuring Proxy to Manage a New Service
For our first scenario, we'll configure JupyterHub to start and manage a Python HTTP server.
Add the following configuration to your jupyter_server_config.py.
c.ServerProxy.servers = {
    "test-server": {
        "command": ["python3", "-m", "http.server", "{port}"],
        "absolute_url": False
    }
}
This setup tells JupyterHub to start a Python HTTP server on demand and proxy requests to it. {port} is a placeholder that jupyter-server-proxy will replace with an available port number.
You can create this file in one of the following config locations. I have used path /opt/app-root/src/.jupyter/jupyter_server_config.py.
jupyter --paths
Output:
config:
    /opt/app-root/src/.jupyter
    /opt/app-root/etc/jupyter
    /usr/local/etc/jupyter
    /etc/jupyter
data:
    /opt/app-root/src/.local/share/jupyter
    /opt/app-root/share/jupyter
    /usr/local/share/jupyter
    /usr/share/jupyter
runtime:
    /opt/app-root/src/.local/share/jupyter/runtime
Configuring Proxy to Connect to an Already Running Service
In the second scenario, we'll set up a pass-through proxy to an existing Python HTTP server.
Ensure that your Python HTTP server is running on a known port, say 8000.
Next, you have to configure the Pass-Through in Jupyter, for this modify your jupyter_server_config.py to include following,
c.ServerProxy.servers = {
"test-server": {
"command": ["echo"],
"absolute_url": False,
"port": 8000,
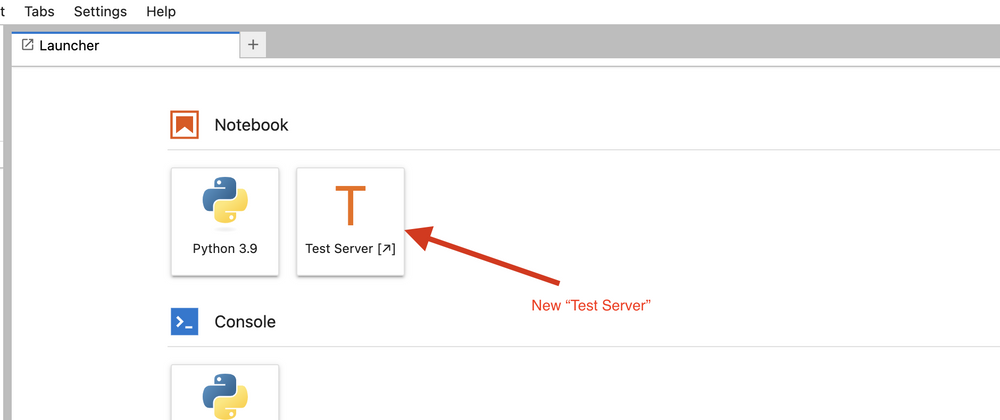
"launcher_entry": {
"title": "Test Server"
}
}
}
Here, "command": ["echo"] is a placeholder since the service is already running. This configuration ensures that requests to the /test-server path in Jupyter are forwarded to the existing Python HTTP server.
If your workbench is already running you have to reboot the workbench to apply these changes.
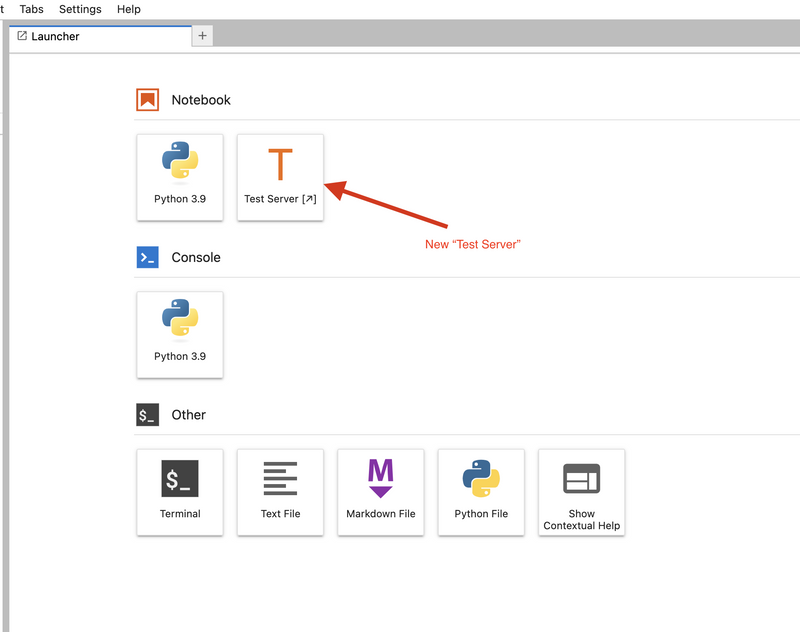
jupyter-server-proxy is included in all the out-of-the-box workbench images of Red Hat Openshift AI (RHOAI). This means you can start a service within a Jupyter notebook, for instance on port 8000, and access it through a specific URL pattern.
Suppose you start a Python HTTP server inside your notebook and have set up the jupyter_server_config.py as mentioned earlier. You can access this server at the following URL pattern:
https//<your-notebook-address>/ test-server
In my case, I manage to access this service using following
https://<redhat-openshift-ai-workbench-domain>/notebook/finetune/llama2/test-server/


Top comments (0)