In this blog, we will upload the Dockerfile image we created in the previous blog, which I recommend you to read first. So, let's upload our image to "Docker Hub."
Firstly, we will need Docker installed on our Device and create an account. Then login into our account and follow with me :). Once we log in we will be greeted by the dashboard
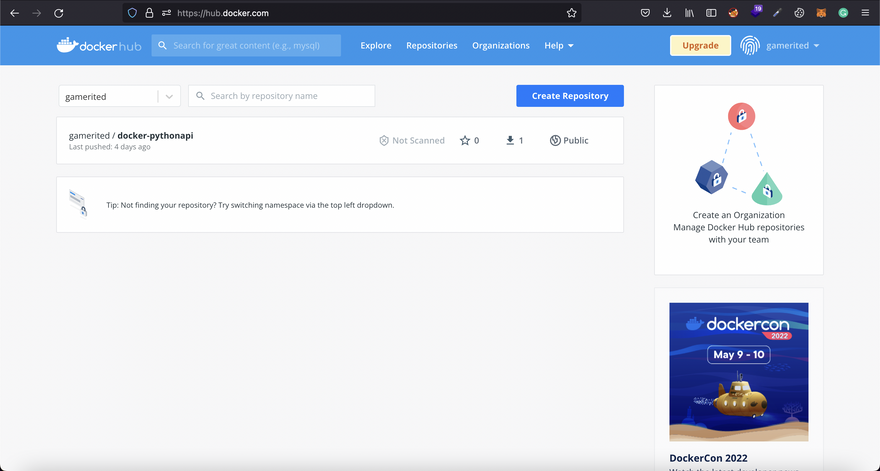
Creating repository on Docker Hub
To push our image,
1) First, Click on create Repository

We can see
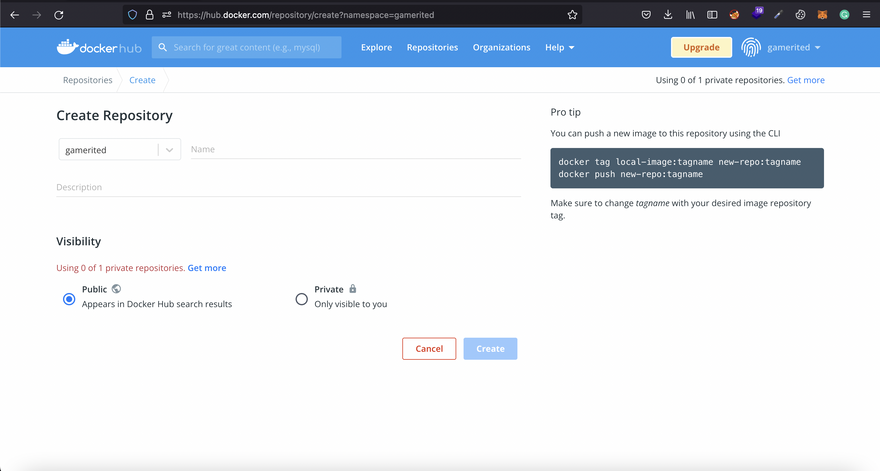
Here, note the right side column (pro tip). Keep that in mind we will be using this later.
2) Now, Name our image to be pushed. In this case, I will name it pythonblog. We can also add a description. And also, set the Visibility to Public and click on create
Note: We will be uploading our image Publicly on this blog. For private images, I will cover them on another blog soon.
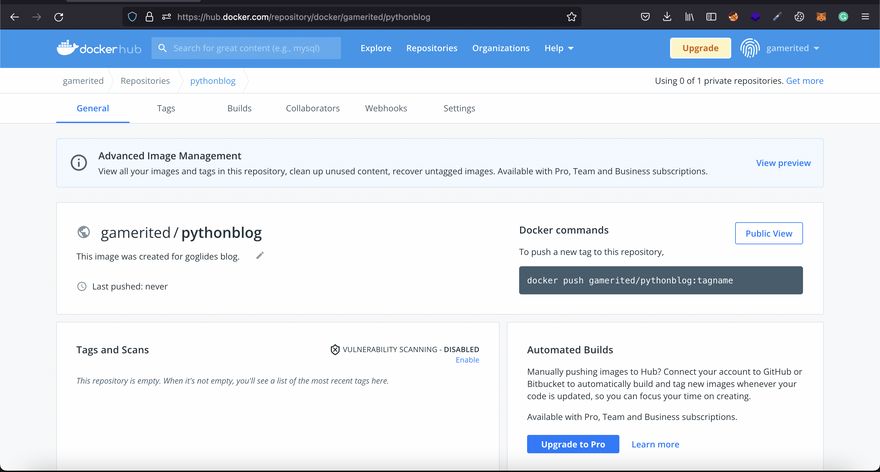
3) Once we click on create, we will see a general tab of our repo
Pushing image into repository
If we have kept an eye on the right-side column while creating the repository, we can see they have provided us with steps to push an image to our repository.
1) We have already built a dockerfile in the previous blog with the tag "pythonapi"
2) We will be changing the name from pythonapi to our repository name, which in this case is gamerited/pythonblog
Note: Your repository name always starts with your username, followed by your image name. Here gamerited is my username, and pythonblog is my image name.
We will be using following command to change our image tag
docker tag pythonapi gamerited/pythonblog:v1
Here, v1 is the version of my image. If you do not specify v1, it will push image as the latest.
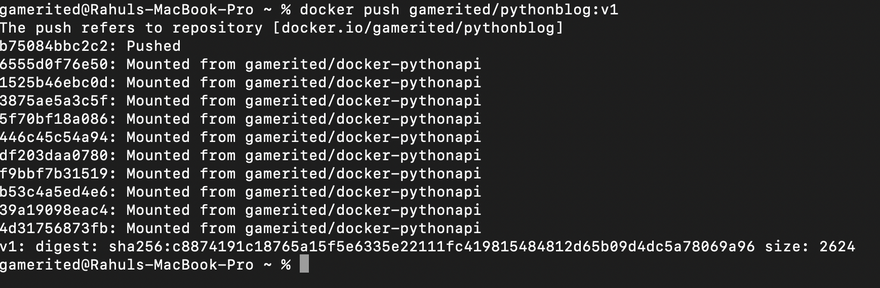
3) Now, we will be pushing our image. For this, make sure we are logged in using the command
docker login

Once we are logged in, we can push the image with following command
docker push gamerited/pythonblog:v1
Once we are login, we can push the image with the following command
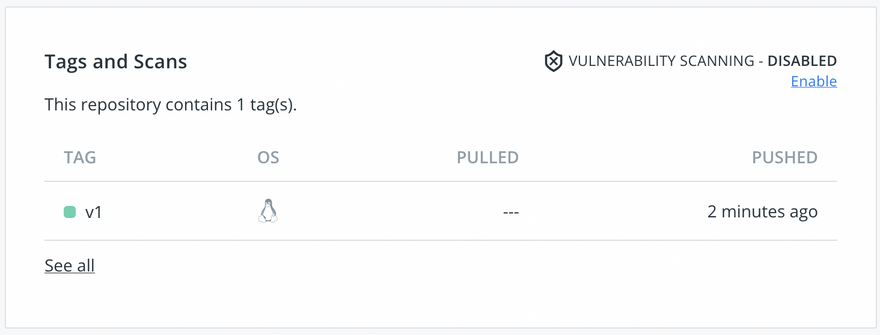
4) Now, if we visit our dockerhub repo page, we can see that our image has been pushed.
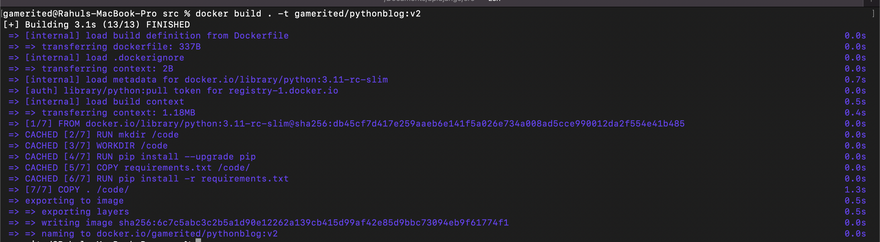
We can modify our images and upload newer versions too. For an example, lets change the runserver host from 0.0.0.0 to 127.0.0.1

FROM python:3.11-rc-slim

ENV PYTHONDONTWRITEBYTECODE 1
ENV PYTHONUNBUFFERED 1
RUN mkdir /code
WORKDIR /code
RUN pip install --upgrade pip
COPY requirements.txt /code/

RUN pip install -r requirements.txt
COPY . /code/

EXPOSE 8000

CMD ["python", "manage.py", "runserver", "127.0.0.1:8000"]
Now, let's build our image and give it a new name ( we can directly name it as our repository image name.)
docker build . -t gamerited/pythonblog:v2
Now, lets push image to our repo,
docker push gamerited/pythonblog:v2
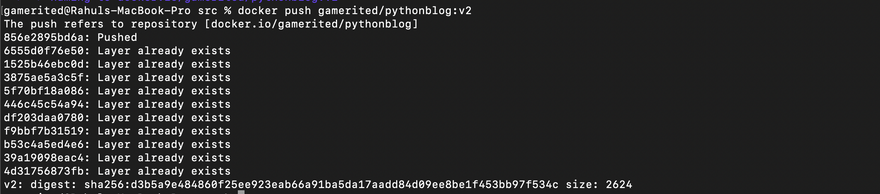
As we can see, existing layers are not pushed multiple times, saving time while pushing our image.
You can push more images, pull them and reuse them. Anyone will be able to pull our image. Here you can use https://hub.docker.com/r/gamerited/pythonblog URL to pull or see the image I pushed publicly in the docker hub.


Top comments (1)
Some comments may only be visible to logged-in visitors. Sign in to view all comments.