
In this blog, I will introduce and explain Jenkins, the lifeline for a CI/CD engineer. Also, I will create a Jenkins freestyle project to understand the working of Jenkins.
But let us understand what is CI/CD first.
1. 🔄 CI/CD
CI stands for Continuous Integration and CD stands for Continuous Delivery/Deployment.
Continuous integration (CI) is a software development practice in which developers merge their changes to a shared mainline several times a day.
Continuous Delivery (CD) takes CI further by automating the deployment process. It involves continuously preparing the software application for deployment by packaging it, configuring the environment, and performing additional tests, such as user acceptance testing (UAT).
Continuous Deployment is an extension of Continuous Delivery where the deployment process is fully automated.
A CI/CD pipeline is a series of automated steps or stages that enable Continuous Integration (CI) and Continuous Delivery/Deployment (CD) of software applications.
There are a few popular tools for CI/CD pipeline such as Jenkins, GitLab, CircleCI, Bamboo, Azure DevOps, etc.
Jenkins is one of the most widely used, mainly as it is open source, which is also my topic to discuss for the next few days! Let’s go!
2. 🏗️ Jenkins
Jenkins is a self-contained, open-source automation server that can be used to automate all sorts of tasks related to building, testing, and delivering or deploying software. Jenkins is based on Java programming language.
2.1 Why Jenkins?
- Jenkins is open-source and free to use.
- Jenkins is very versatile.
- Jenkins has a large and active community.
- Jenkins is constantly being updated.
- Jenkins is flexible and customizable.
- Jenkins supported customizable build.
2.2 Jenkins Architecture
Jenkins is based on the Master-Slave architecture.
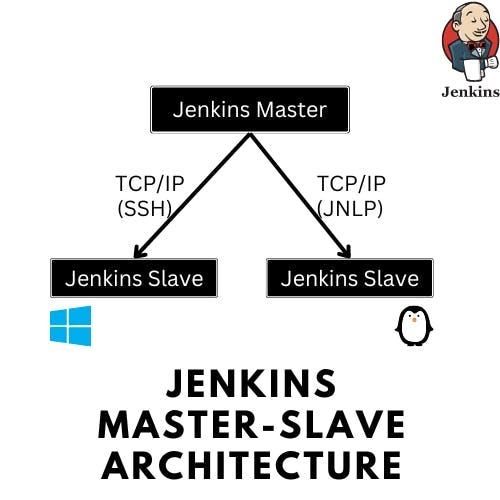
The master node is responsible for managing the system and coordinating the workload, while the slave nodes (also called agents or workers) perform the actual build and deployment tasks.
The master node communicates with the slave nodes to assign jobs, collect build results, and monitor progress. Slave nodes can be distributed across different machines, allowing for parallel execution and workload distribution.
3. 🛠️ Setting up Jenkins
Launch an EC2 instance based on Ubuntu and connect to it. I have followed the Jenkins official documentation for Installing Jenkins on Linux: Official Documentation.
3.1 Prerequisites
Minimum hardware requirements:
- 256 MB of RAM
- 1 GB of drive space (although 10 GB is a recommended minimum if running Jenkins as a Docker container)
Jenkins requires Java 11 or 17 since Jenkins 2.357 and LTS 2.361.1.
3.2 Installing Jenkins
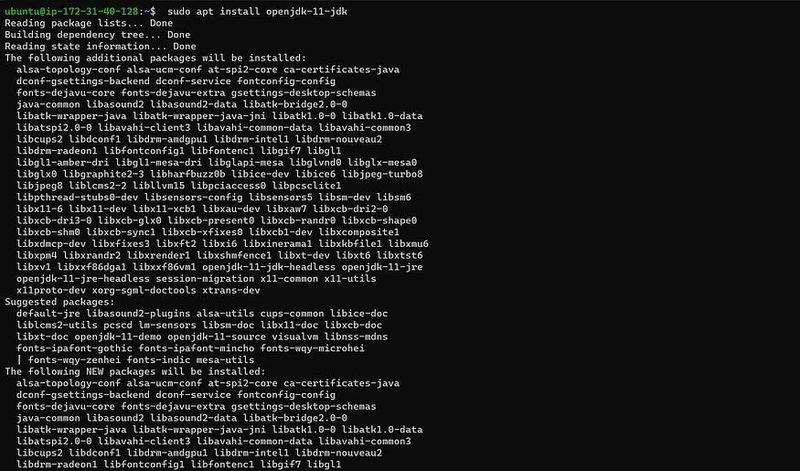
- Install Java 11 on your machine.
sudo apt-get update
sudo apt install openjdk-11-jdk
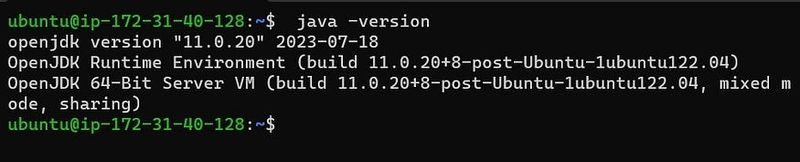
To check the version installed, use the following command:
java -version
Install Jenkins.
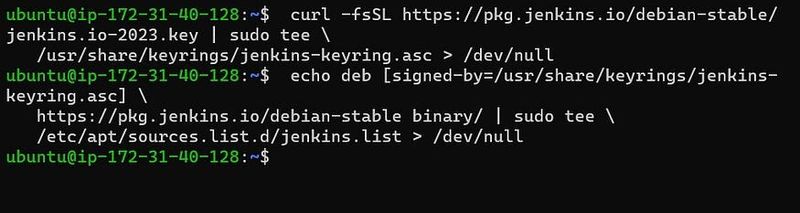
Download the Jenkins repository key and save it in a file using sudo.
curl -fsSL https://pkg.jenkins.io/debian-stable/jenkins.io-2023.key | sudo tee \ /usr/share/keyrings/jenkins-keyring.asc > /dev/null
Add the Jenkins repository as a package for the package manager (apt) on your Ubuntu.
echo deb [signed-by=/usr/share/keyrings/jenkins-keyring.asc] \ https://pkg.jenkins.io/debian-stable binary/ | sudo tee \ /etc/apt/sources.list.d/jenkins.list > /dev/null
Update your system, again.
-
sudo apt-get update
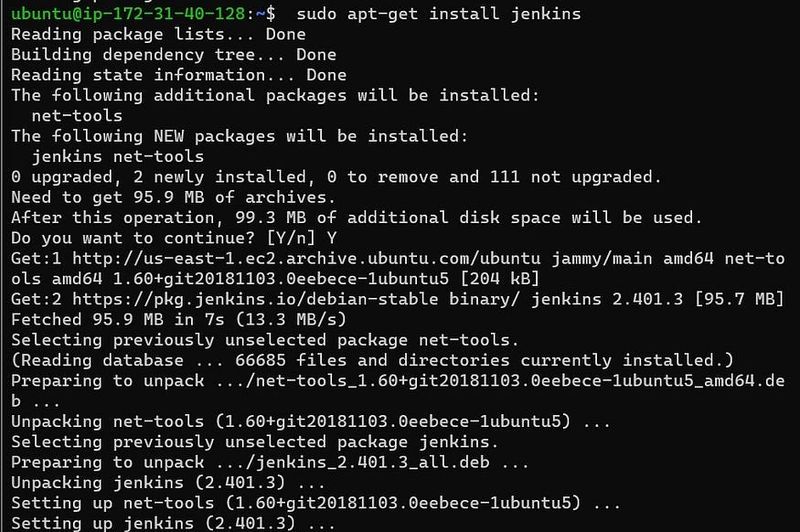
Install Jenkins:
-
sudo apt-get install jenkins
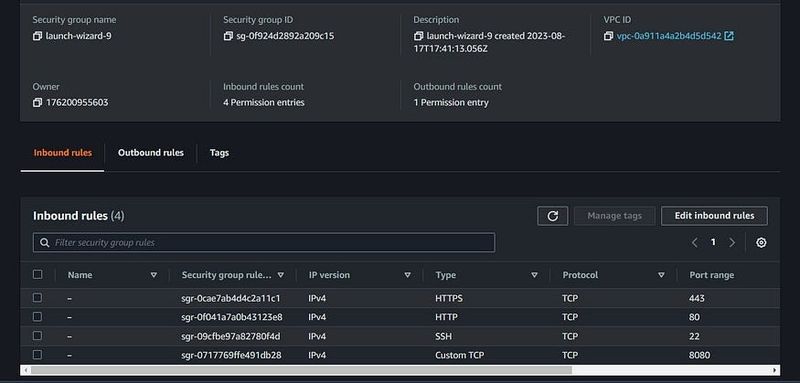
Configure Jenkins On your AWS console, modify the security group for Inbound rules. Open port 8080 to your host from CustomTCP.
Verify Jenkins configuration by opening it in your browser.
Open your hostIP:8080 in your browser. You should get the “Getting Started” page.
- Trivia: Why do we use port 8080? Port 8080 is used for Web servers.
- Since Jenkins is Apache tomcat based Web server (HTTP), the default is port 8080.
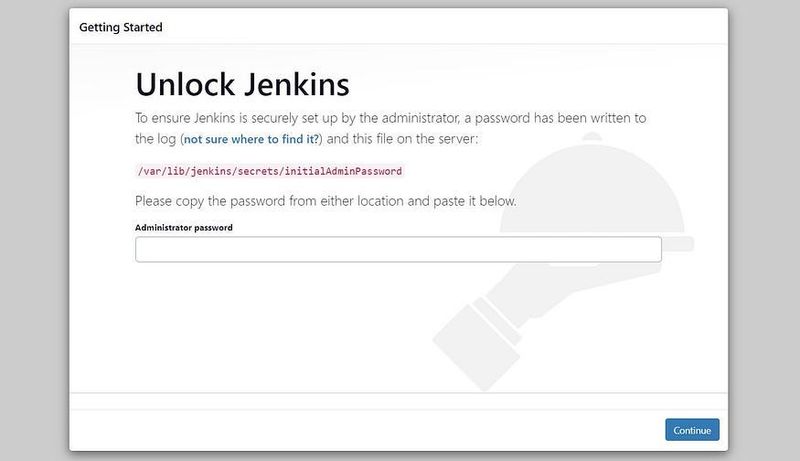
Use the directory and your host using the following command to get the administrator password.
-
sudo cat /var/lib/jenkins/secrets/initialAdminPassword

You will be led to the “Customize Jenkins” page. Select “Install suggested plugins”

Wait for the installation of plugins to complete. It usually takes 4–8 minutes.
Once the installation is complete, the “Create First Admin User” page appears. Provide the details and go ahead by clicking on Save and Continue.

Wait for the installation of plugins to complete. It usually takes 4–8 minutes.
Once the installation is complete, the “Create First Admin User” page appears. Provide the details and go ahead by clicking on Save and Continue.
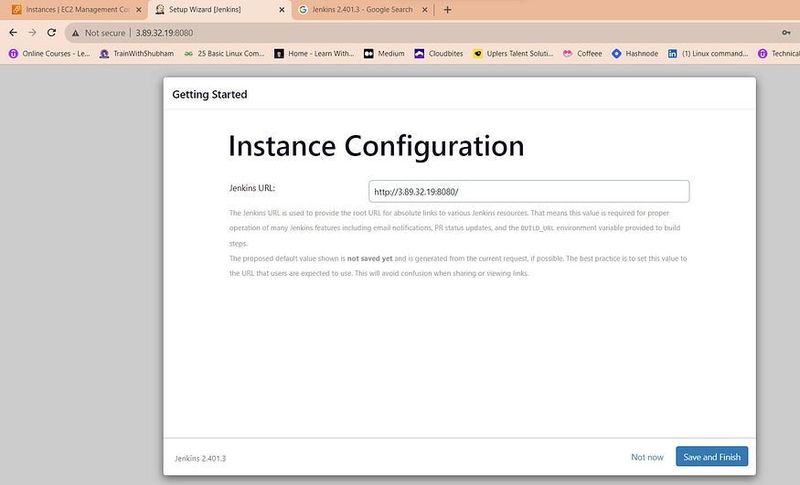
Now the “Jenkins is Ready!” page appears. Click on “Start using Jenkins”.
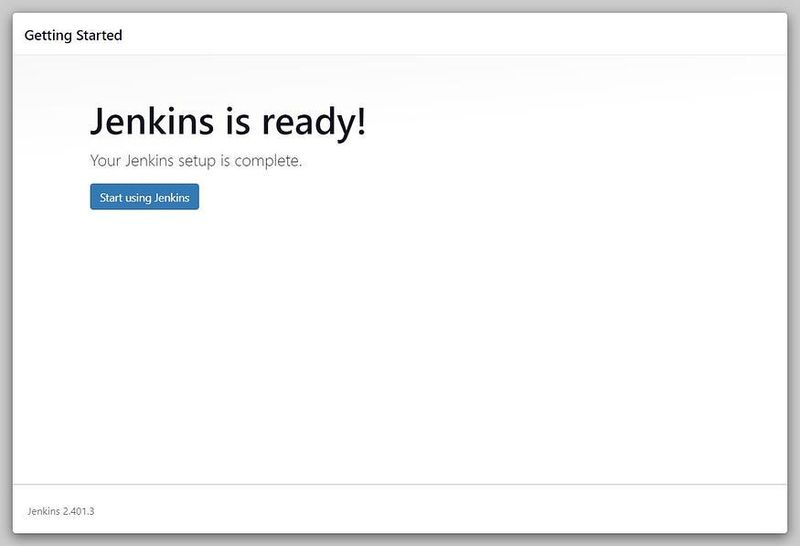
Congratulations! You have successfully installed Jenkins on your host and connected to the Jenkins web server.
4. ✅ Tasks
4.1 Task 1: Create a freestyle pipeline to print “Hello World!”
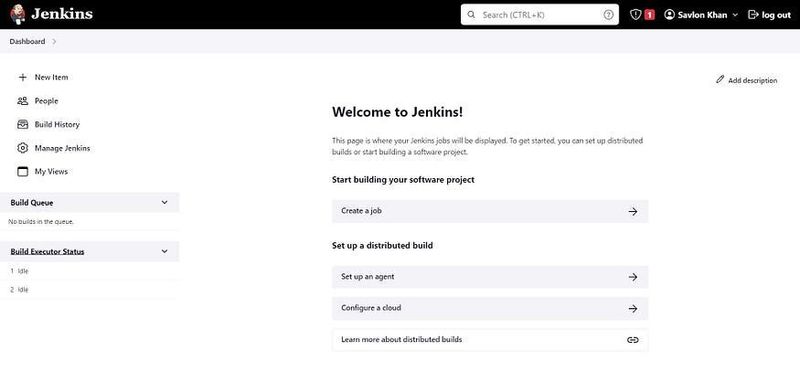
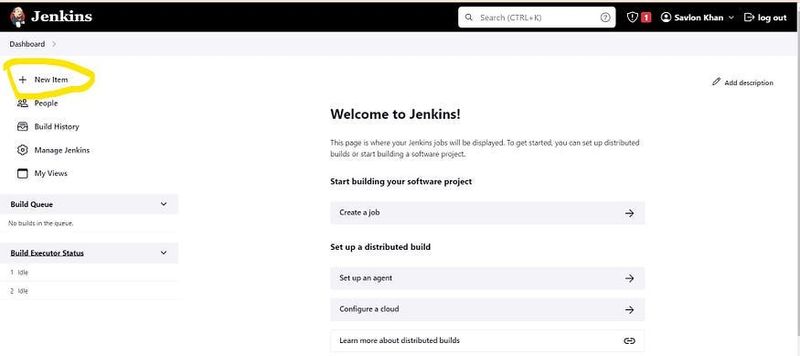
Click on “New Item” to create a new Jenkins job.
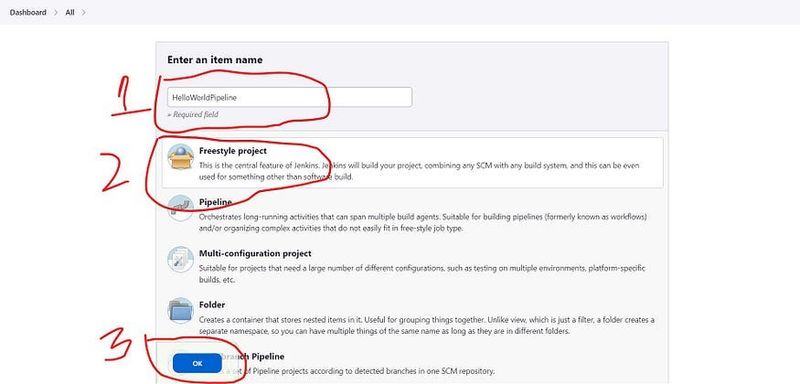
Enter the name for the job “HelloWorldPipeline” and select “Freestyle project”, then click “OK”.
In the configuration page that appears, scroll down to the “Build” section. Click on the “Add build step” dropdown and select “Execute shell” as the host machine’s OS is Linux.
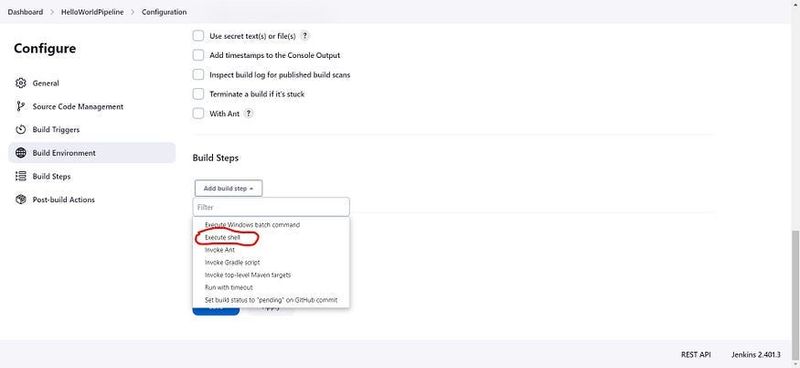
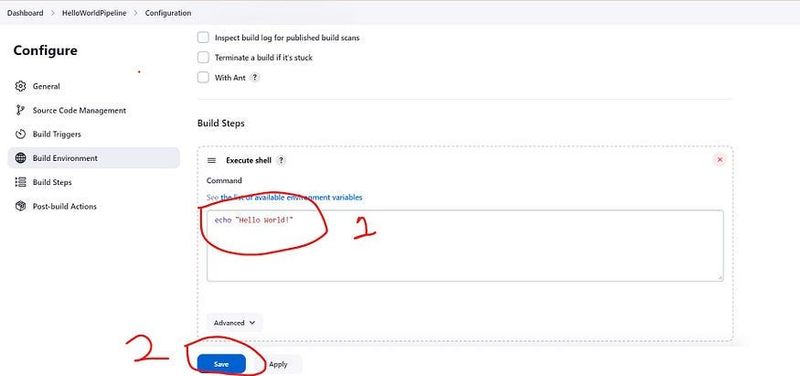
Once you select Execute shell, the Execute shell window opens. In the command section, enter the following:
-
echo "Hello World!"
Click on Save, after entering the command to save the pipeline configuration.
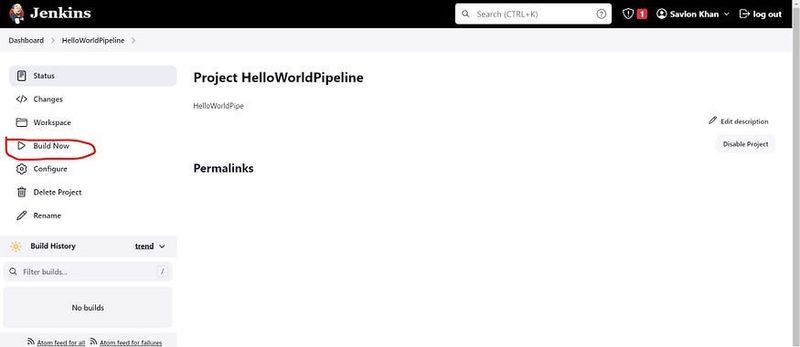
Run the pipeline, to see the output in the console log. To run the pipeline, go to your Pipeline dashboard and click on Build Now.
View the output in the Console output.
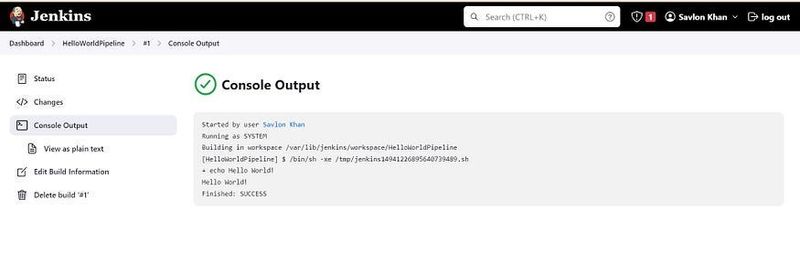
Well, you can see that the build is successful, and the console output is proof of that.


Top comments (0)